This may be the most simple way to make shiny text, or really, shiny anything in Photoshop, period.
Step 1.
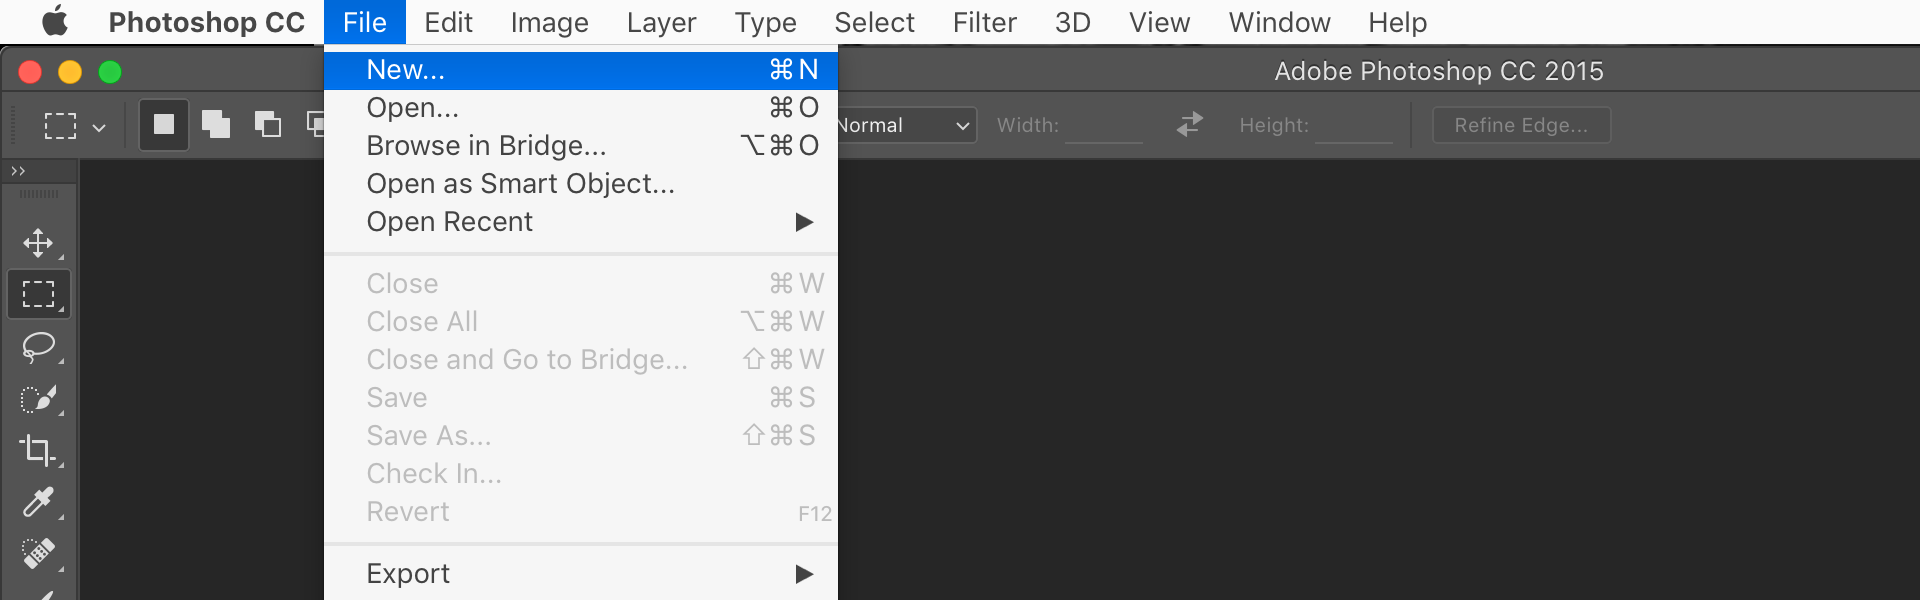
Open up Photoshop and create a “New Document” (Ctrl+N for Win / Cmnd+N for Mac). Doesn’t matter what size. In general, it’s always good to use a transparent background when working on a graphic. Also, if you’re designing for the web, the standard is to use a resolution of 72-96 (300+ if for print).
Step 2.
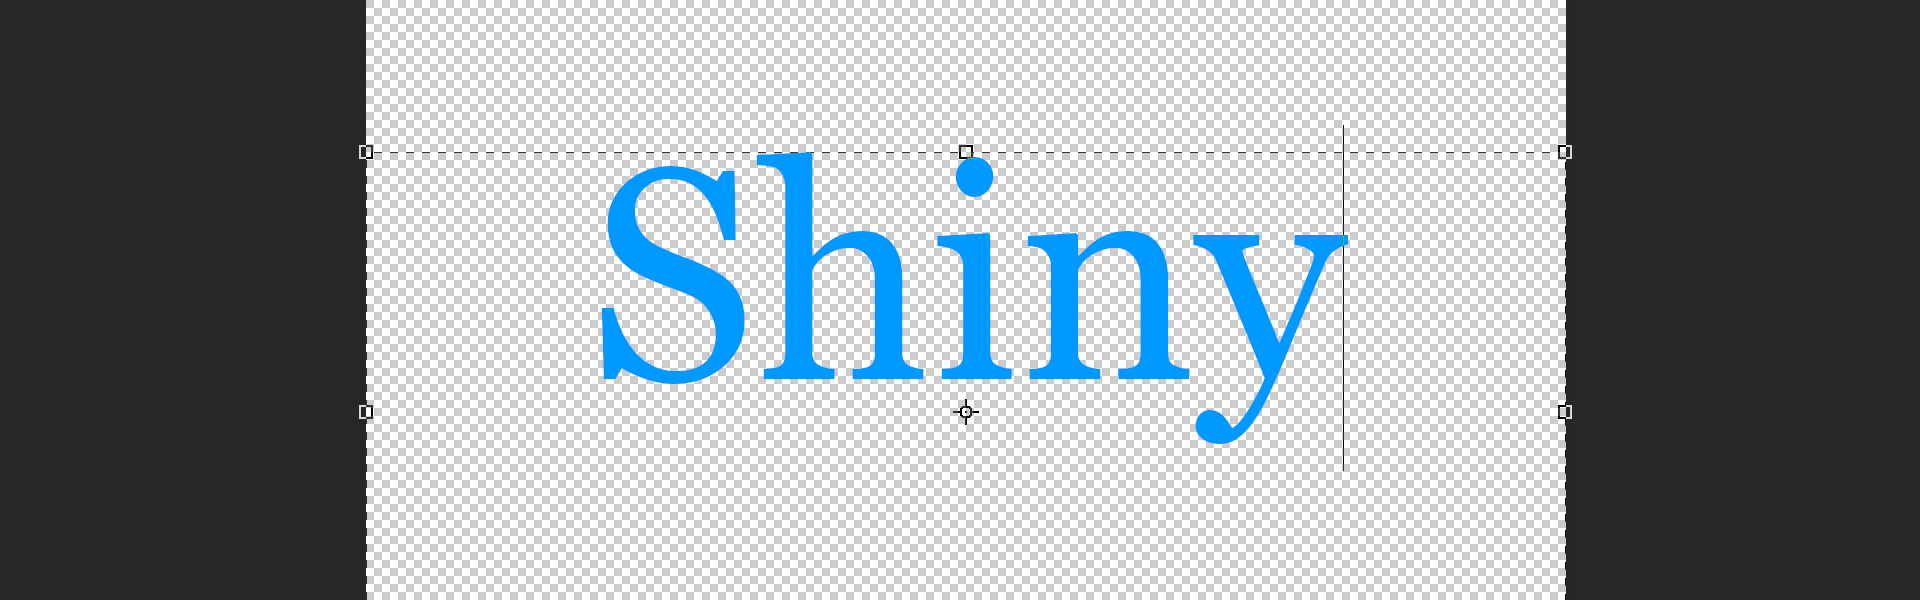
Select the Text Tool and add some text.
Step 3.
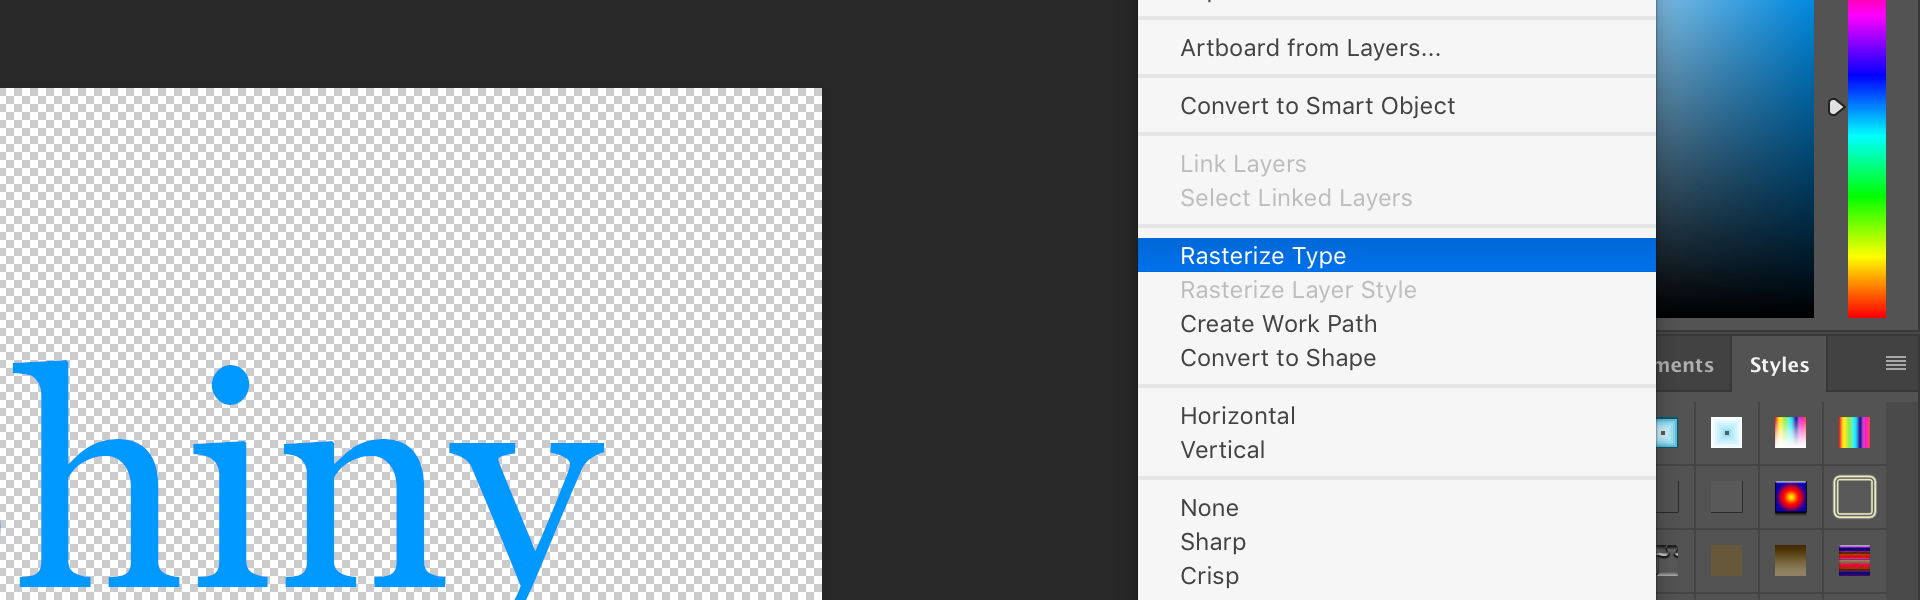
Right-click on the layer in the Layers panel and select “Rasterize Type”.
Step 4.
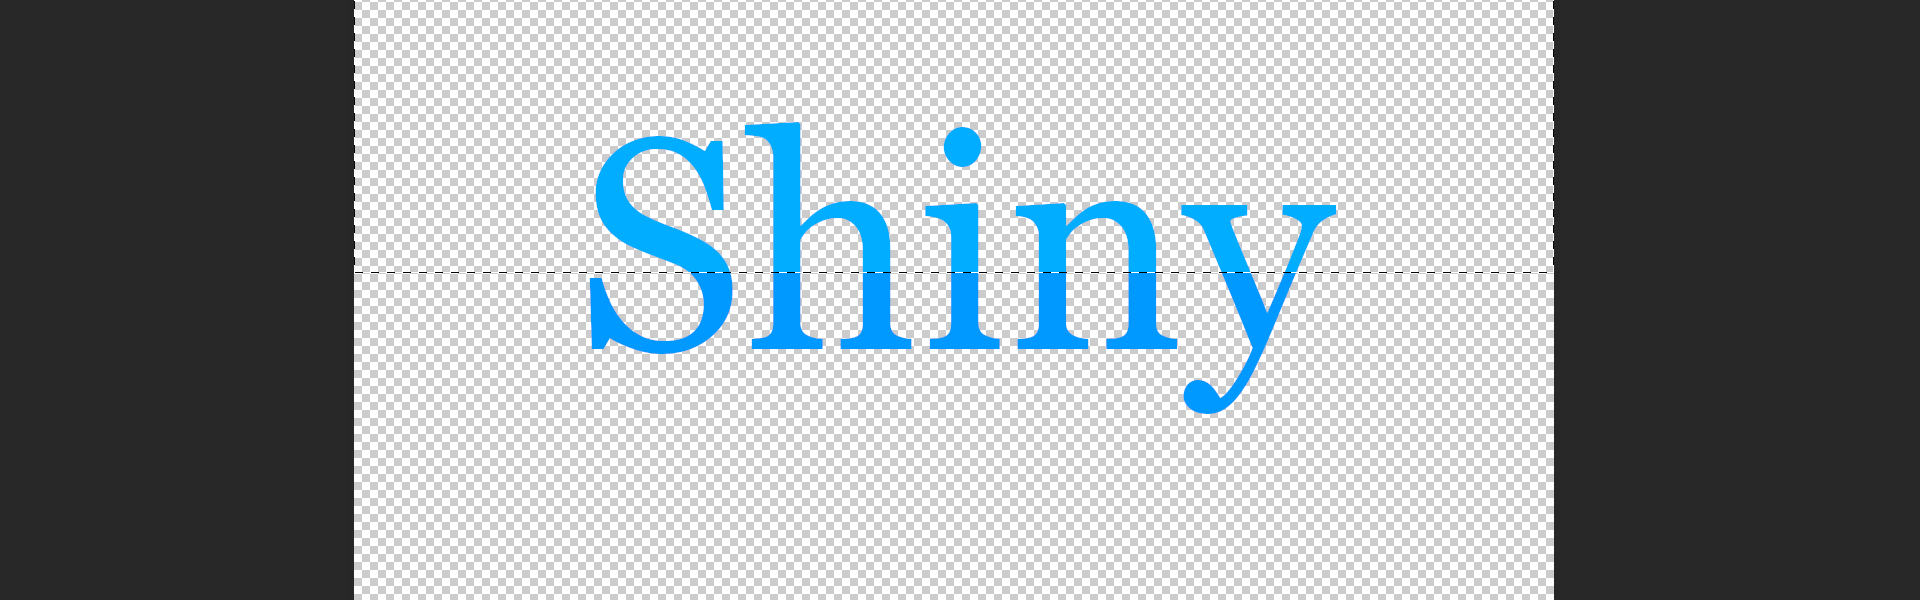
Select the Rectangular Marquee Tool (or circular if you prefer) and run it across the top half of the text and go to:
Image > Adjustments > Brightness/Contrast
For Brightness, add about +20 to +30 and click “OK”.
Step 5.

That’s it.
Of course, there are other little things like adding an Outer Glow, Inner Glow, Stroke, etc. to the text to enhance the shininess a little more. You could also try Gradients and other little Shadowing and Texture tricks.
Tips & Warnings
- Keep going, keep playing around with different settings, you’ll get it.
- If at all you have any trouble or questions about this how-to or find any errors, please comment and I’ll work to update and resolve the article so it’s more thorough and clear.